How to Enhance a Photo - 12 Simple Tricks
No matter how skilled you are in photography, there will undoubtedly be times when you are left with a photo that goes beyond your expectations. It might be a small problem such as an unwelcome stranger in the background or something totally disastrous like a large flare spot. Thankfully, there’s enough image editors to tweak, adjust and correct your photos, turning a mediocre shot into a great one. Keep reading this guide and you’ll discover 12 useful tips on how to enhance a photo without Lightroom or Photoshop.
Most Popular Tips for Enhancing Pictures in a Couple of Clicks
Now you don’t need to have professional skills and know advanced techniques to improve your pictures. PhotoWorks is as powerful as Lightroom, but will fix your pictures in less time and with minimum effort. You can process images in bulk without creating any presets to speed up your editing. Stop wondering where to start and how to make certain adjustments, follow the tips below and you’ll surely get the desired result!
- 1. Enhance colors
- 2. Adjust the lighting
- 3. Increase sharpness
- 4. Crop for better composition
- 5. Decrease digital noise
- 6. Remove unwanted objects
- 7. Straighten the horizon
- 8. Fix the red-eye effect
- 9. Add stylish captions
- 10. Change any background
- 11. Apply one-click effects
- 12. Make portrait improvements
1. Enhance Colors
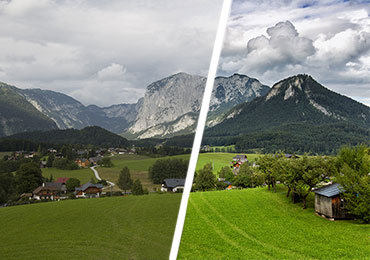
Even when you shoot a colorful scene, there’s no guarantee that the juicy hues you see with your eyes will look the same in a photo. The good news is post-production can make a dull or flat picture pop. For a start, improve the overall color balance by increasing saturation (the intensity of all the colors in your photo) or vibrance (the intensity of only the mid-tones that need a color boost). This way, the colors in your photos will end up vibrant, but realistic.
Color enhancement doesn’t need to be anything super-advanced and can be made with a few selective adjustments. Touch up separate tinges without affecting the rest of your photo. If you want to change the amount of grey in some particular color and give it a bolder look, work with the Saturation settings. Adjust the Luminance slider to balance the ratio of white and black within the chosen hue and control its brightness.
Tone mapping and curves will also help you get vibrant colors in your photographs and even completely change their mood. These tools can be used as custom filters to fine tune the overall tone of your images, lift the dark areas or bring out more details.
2. Adjust the Lighting
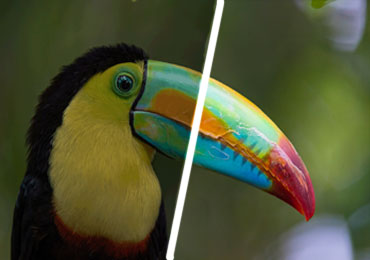
The fastest and easiest method of adjusting the lighting is to use auto correction. Thanks to smart algorithms, advanced image editors can detect individual lighting issues of each picture and fix only them without ruining the parts that don’t need any improvement. A number of manual adjustments is also essential for improving photo quality as they offer much more control over the output.
For example, the Brightness settings will help you lighten or darken an under- or overexposed photo with a simple drag of the slider. That way you can control the intensity of your lighting and achieve a natural look. To modify only the chosen areas, it’s better to adjust the highlights and shadows or whites and blacks.
Want to give an image its "pop" and create a three-dimensional effect? The Contrast settings are really helpful when it comes to adjusting the difference in brightness between the lightest and darkest pixels in your photos. Contrast enhancement can also reduce the effect of blur, haze or lens flare.
3. Increase Sharpness

If you don’t focus your camera or move it when the picture is taken, you may end up with a blurred image. In case the amount of blurring is moderate, you can still make your ruined photo appear crisper and better focused. Sharpening is the best technique to bring back the lost details and restore clear lines in your picture. What makes this tool even greater, is its ability to be used selectively.
With the help of certain filters, you can sharpen only the chosen areas and leave the other parts as soft as they were. The Clarity tool can also add the “sharpening” effect to the whole photo but in fact it simply increases its midtone contrast. Adjusting the Clarity setting is a real remedy for shots that are slightly “soft around the edges”. As compared to the Sharpness tool, it is less likely to produce an artificial effect or halos.
These three techniques represent basic adjustments that will save a
seemingly ruined shot and make a good one look brilliant. Learning how to properly use them
may seem a little daunting for beginner photographers, but will surely pay off in terms of
enhancing images.
Just remember that small changes made with simple tools are
usually the most effective.
4. Crop to Improve the Composition
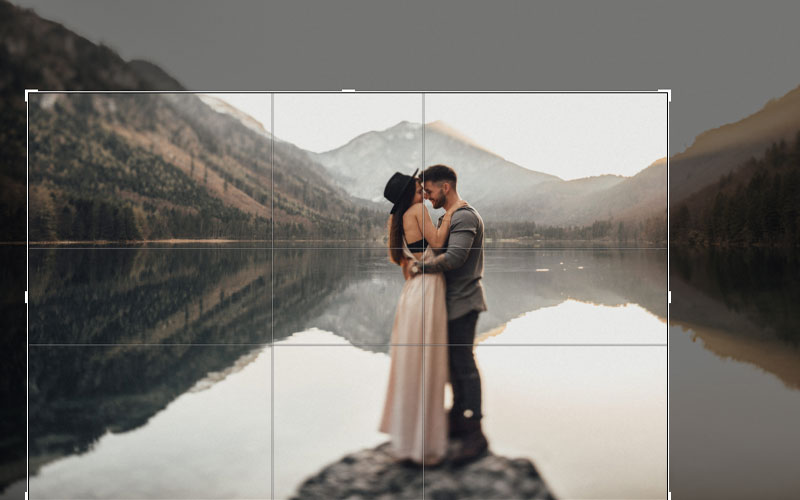
One more way to digitally improve your photos is to use the Crop tool. This kind of adjustment is usually used to cut away unwanted objects and make the main subject appear more prominent, but it can create an even more favorable effect. When cropping, you can tell the story behind the shot, focus on small details rather than the whole scene and even present a common object in an unusual way.
Choosing a proper grid overlay makes all the difference so it’s crucial to pick suitable grid types for various genres of photographs. While the Rule of Thirds is an all-time classic, the Golden Spiral or the Diagonal grids give your pictures a more dynamic look. The trick is to place your photo subject at intersecting hot-spots over the picture frame but it is you who chooses the way these lines intersect.
5. Denoise ‘Grainy’ Photos
Have your night shots ever come out in small colored dots? In fact, these dots are the result of poor shooting technique or camera failure. In photography, the 'noise' term describes the graininess of a photo taken with incorrect ISO settings or in low light conditions. Although it may remind you of a retro-inspired film grain filter, this effect is less welcome in your pictures.
To solve this issue, you need to carefully remove noise from the photo without overblurring the picture or erasing its precious details. Effective post-production editing will soften and smoothen the problem areas. As a result, you’ll be able to reconstruct the photo quality in a clearer form.
6. Remove Unwanted Objects or People
In an ideal world, every photo you take will be perfect and free from distractions right from the start. In the real world, we often face a situation when one or more ugly objects find their way into an otherwise attractive picture. They can be power lines, road signs, rubbish bins or sudden passers-by that impair the quality of the image. Removing these elements used to be a task for a professional retoucher, but today even an amateur can easily do it with the help of a user-friendly photo object remover.
For example, if your beautiful landscape shot is ruined by a transmission tower, you can easily copy an area of unspoiled land and place it on top of the unwanted object. Although the process takes some practice to seamlessly blend a cloned section into the rest of your photo, it really can rescue an image that would have been sent to the recycle bin.


7. Straighten a Wonky Horizon
When shooting a scene in live mode you should keep in mind so many things - composition, focus, shutter speed, etc. - that it is too easy to accidentally tilt your camera to one side. As result, your photo will get a slanted horizon which can be very distracting.
Solution? Of course, it’s better to hold your camera level in the first place, but even an already ruined picture is easy to fix. Rotate your photo in your favorite image editor to re-align the scene and straighten a wonky horizon. The program will automatically crop the picture and remove the odd elements left after editing.
8. Get Rid of the Red Eye Effect
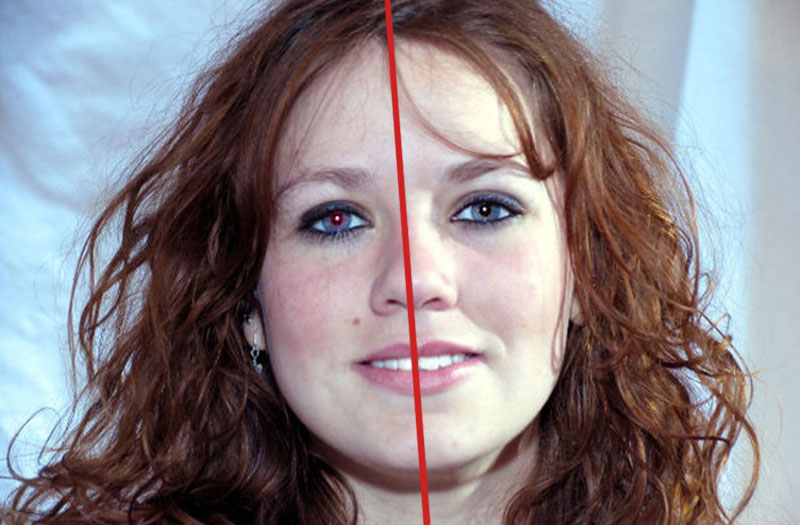
No stranger to red eyes in your portrait shots? These glowing pupils on the face of your family and friends look bizarre and definitely kill the mood of your photo. It happens when you switch on the flash and take a picture of someone looking directly toward the camera. The flash reflects off the back of the eye and causes it to glow bright red.
Thankfully this sinister effect is very simple to fix. Any image editor will let you manually color over the red pixels with black or dark grey, and restore the natural look of the eyes. If that sounds like hard work for you, try automatic red-eye reduction which will do the correction for you.
Other Tricks for Making Your Pictures Better
Now you know how to enhance an image suffering from color, lighting, compositional and other serious problems. Many would rest there but high achievers can take a step further and turn a less-than-perfect image into a real eye candy using a few simple tricks. Want to spice up your pictures and bring them to a new level? Let’s dive into it!
9. Add Text Captions
Whether you want to sign your creative work or turn your edited photo into a personalized postcard, you’ll need to add text captions. They can be big or small, come in different fonts and styles, contain a single word or some famous quotation, but the main trick is to fit them into your design and convey the right message.
Text captions can become essential elements of your home-made postcards and invitations, DIY posters, personalized photo albums and scrapbooks. Forget about boring date stamps, think creative and make text captions an integral part of the overall image composition!
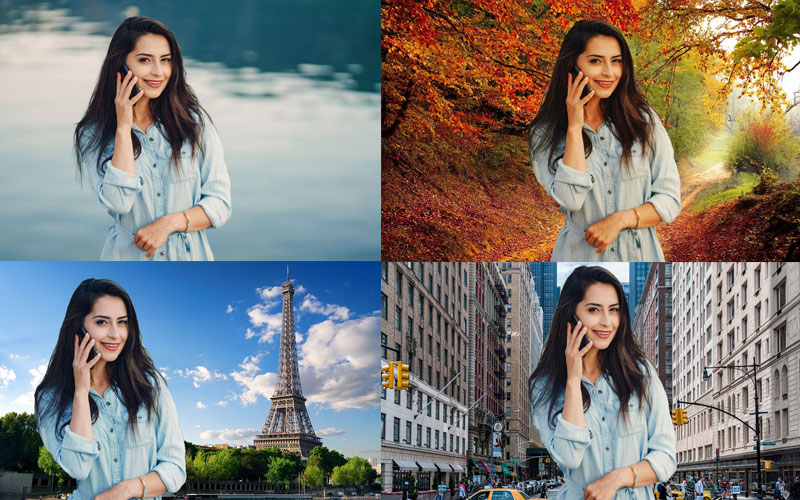
10. Change Any Background
Instead of spending hours to edit out some unwelcome guest from your serene landscape shot or individual portrait you can simply replace the whole background with a new one! This method of photo enhancement is so great because it doesn’t require advanced retouching skills and can be successfully applied even by a newbie.
With a huge number of artistically designed photo background images, you can transfer your digital self to exotic places and far-away locations in a single click. All you need to do is to choose your main subject and build a new more fascinating world around them.
11. Apply Stylish Effects
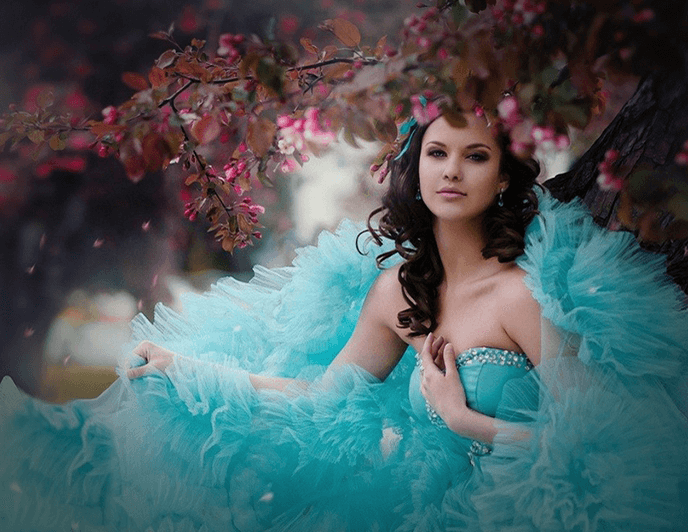
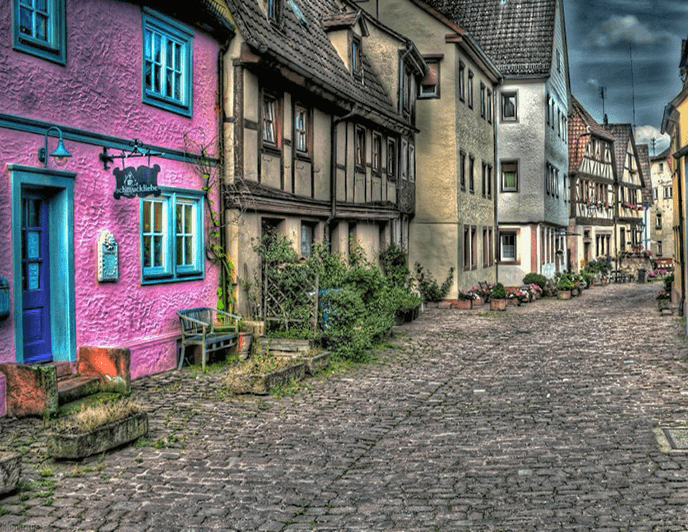
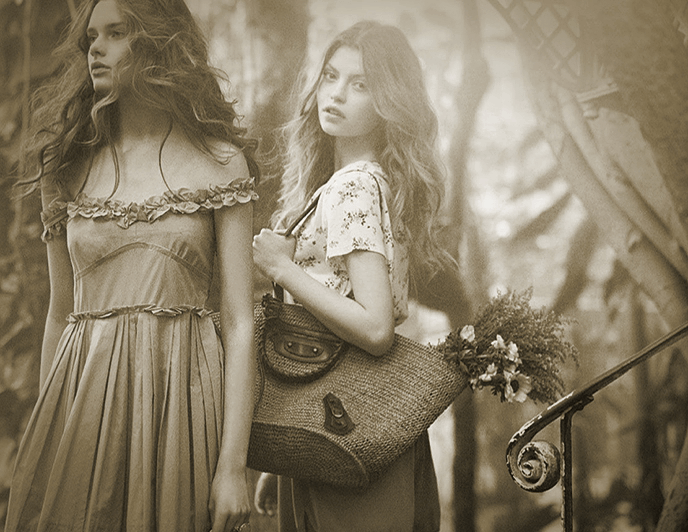
Think your photos lack some zest? Photo effects will give you more creative options than the most expensive camera would. There's truly no limit to what you can create using different filters! Slick and professional effects are an instant solution for retouching selfie shots, adjusting the color balance and lighting, increasing sharpness and highlighting details.
Modern stylizing tools include everything from vintage and retro effects to filters that will make your photo resemble a painting or scene from your favorite movie. You can even add a vitrual sun ray effect to your images to give them warmth, create a serene atmosphere or give a source of light.




12. Make Portrait Improvements
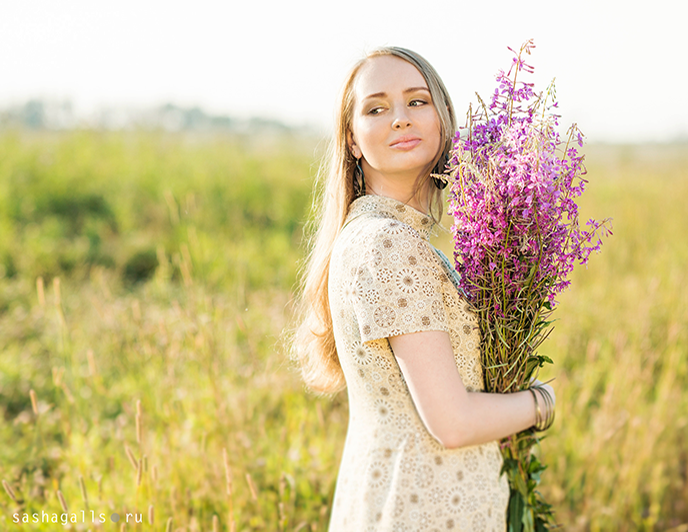
Portrait shots can be affected by all the problems mentioned above but they require special treatment. Enhancing someone’s digital face is nowhere close to improving a landscape picture. You need to take care of skin texture, liven up its tone, smoothen wrinkles, conceal blemishes, make the eyes more expressive, whiten teeth, and yet preserve the natural look of your photo.
Subtle adjustments in post-production will bring out your best parts and conceal little imperfections like unattractive glare or redness. While face sculpting or elegant digital make-up will completely change your photo look and give you the glamor of a Hollywood star. Retouched portrait shots will become real gems of your pages in social networks!
Reveal More Ways of Enhancing Photo Quality
It doesn't matter whether you want to touch up your travel photos or wedding shots. With a versatile toolkit and a little bit of knowledge, you can not only, say, reduce image size, but dramatically improve the quality of your images. PhotoWorks software will be your ever-greatest assistant in this creative process. The program offers rich editing possibilities and is extremely easy to use even for newbies!
PhotoWorks Benefits:
With PhotoWorks, you’ll be able to adjust color and lighting issues, retouch group portrait shots and apply stylish effects in a single click.


