How to Get Rid of Glare in Photos: 5 Best Ways
At times, light glare adds an artistic touch to a picture, but in most cases, it makes a photo look less professional as it:
- Causes unwanted haze and blur
- Reduces overall clarity and sharpness
- Washes out vibrant colors in a picture
- Creates light distortions and reflections
- Casts shadows and highlights on faces
Glare can appear in many forms - overexposure, reflection on the glasses, hazy patches, lens flare, etc., so there’s no ultimate way to fix it. That is why we decided to share several common methods suitable for different situations. We’ll show you how to remove glare from photos, step by step, using the top 3 photo editors for desktop and mobile editing. Furthermore, you’ll discover a handful of shooting tips to take glare-free pictures. Now, let’s get started.
1. How to get rid of glare when taking a picture
2. Adjust shadows & highlights to erase glare
3. Eliminate light glare with Clone Stamp
4. Remove glare using the Dehaze tool
5. Get rid of light glare with Photoshop
6. Erase glare with an iOS photo editor
How to Get Rid of Glare When Taking a Picture
There are many simple techniques allowing you to take photos without light glare. Let’s go over some useful tricks you can try the next time you shoot with a camera or a mobile phone.
- Use a lens hood. A lens hood is a special camera accessory that can be attached to the lens. This device blocks indirect light, so the sun rays don’t cause glare in pictures.
- Fix the camera position. When taking a shot, it’s important to hold your camera in the right position. We can’t suggest an ultimate position that would work in any situation, but there are several common ways to prevent glare. For instance, you can place the object in front of the light source to block light streaks. Another way to deal with glare is to turn the camera away from light reflective surfaces like glass or water.
- Clean the lens from dust. Fingertips, dust, and other particles might cause distortions and glare in pictures, so you should ensure it’s perfectly clean before taking a shot. It’s recommended to use microfiber cloth to wipe the lens. In situations you don't have it at hand, you can try lightly breathing onto the lens.
- Turn the flash off. Using a flash when capturing portraits can lead to glare on a face or glasses. So, it’s better to use ambient or natural light instead.
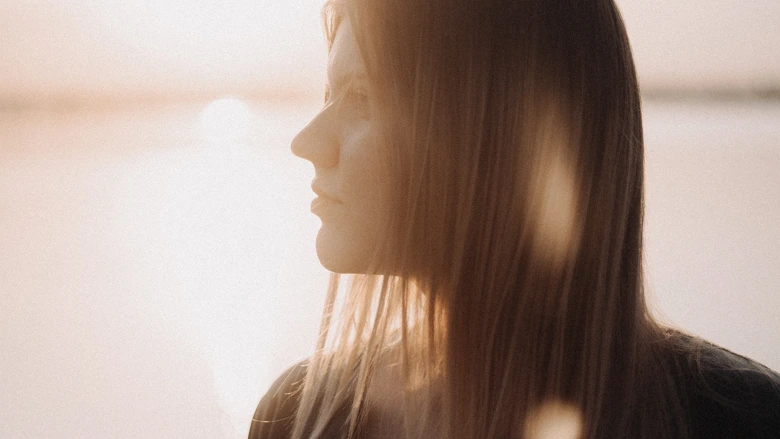
 This is an example of a photo taken without a lens hood
Lens hoods are also commonly used for preventing overexposure in a photo. If you already took a picture that is too bright and would like to correct it, read this guide on how to fix overexposed photos.
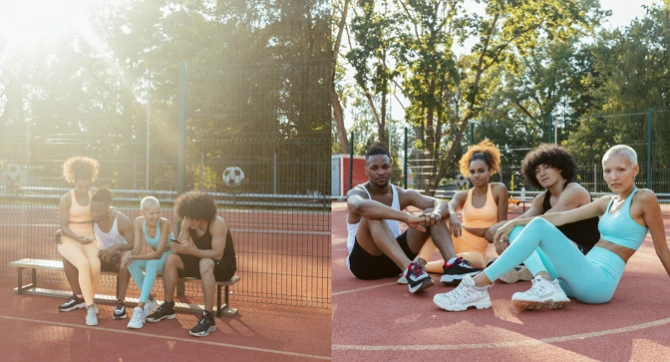 Mind the camera position to avoid this kind of light distortion
 Dust on lens might cause glare in your photos
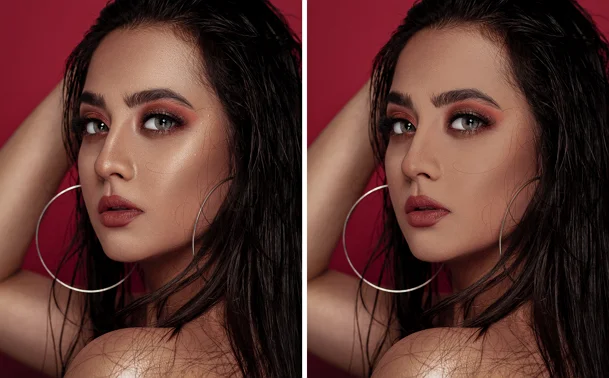
 Flash leaves distracting highlights on models’ faces
There are situations where glare is unavoidable, but you can easily correct it in post-production. You’ll discover the most effective glare removal techniques. We’ll demonstrate them using the top 3 photo editors suitable for different levels of skill, budgets, and devices. So, let’s take a closer look at them and see which option is right for you.
How to Remove Sun Glare from a Photo with Adjustment Brush
Fixing glare in pictures will take you little time if you’re using a convenient program, such as PhotoWorks. This desktop photo editor has plenty of automatic and manual tools and is suitable for both newbies and pros. Along with simple glare removal, PhotoWorks allows you to retouch portraits, reshape body parts, apply 200+ effects and 3D LUTs, replace the background, erase unwanted objects or people, adjust colors with RGB curves, and more.
The first glare removal method we’re going to talk about is with the help of the Adjustment Brush tool. It allows you to make local changes to both minor and major areas of a picture. Here’s how to remove light glare from photos with the Adjustment Brush feature:
- Import a picture. Click Open Photo and choose the photo you’re going to edit.
- Select the glare. Pick the Adjustment Brush tool in the Retouch tab. Zoom in on your photo, adjust the brush size, feather, and opacity, and then paint over the glare.
- Adjust settings. Once the selection is done, reduce the amount of Highlights and Shadows by dragging the sliders to the left.
- Save the image. Hit the Save button to export the edited picture to your computer.
 Adjustment brush can help you remove small and big glare areas in photos
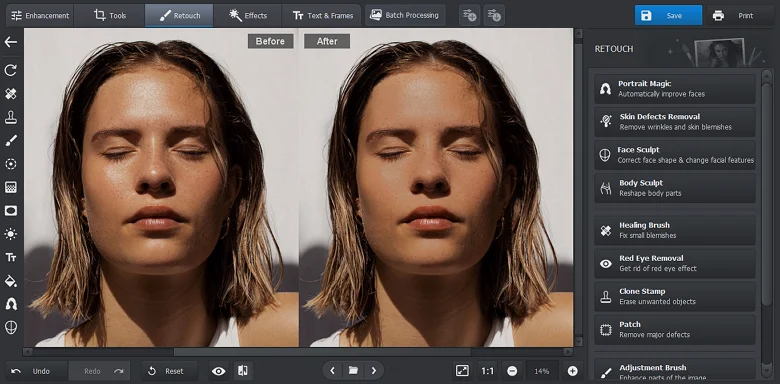 The photo looks much better now
Along with glare, harsh sunlight often leads to unwanted shadows in pictures. Here’s how you can easily remove shadows from photos.
How to Get Rid of Glare in Photos with the Clone Stamp Tool
For editing smaller areas of a picture, you can use another handy tool - Clone Stamp. It allows you to replace one area with another and seamlessly blend it in. This is how to remove sun glare from photos using the Clone Stamp tool:
- Pick the Clone Stamp tool. Open the Retouch tab and click on Clone Stamp.
- Hide glare. Paint over the glare area and then choose the source area for replacement.
- Export the file. Hit Apply to save the changes and export the new image by clicking Save.
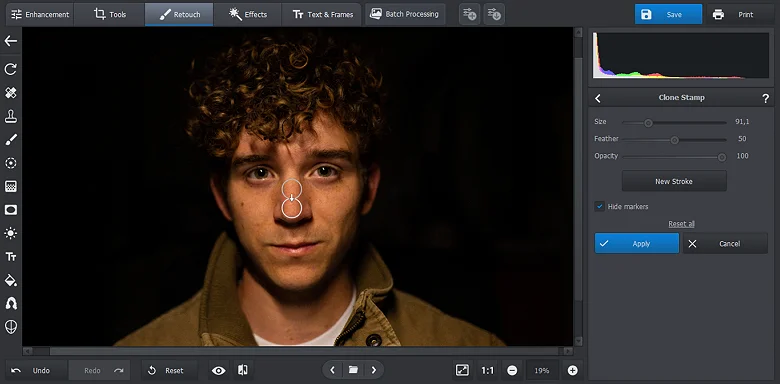 Accurately replace the glare area with another part of the picture
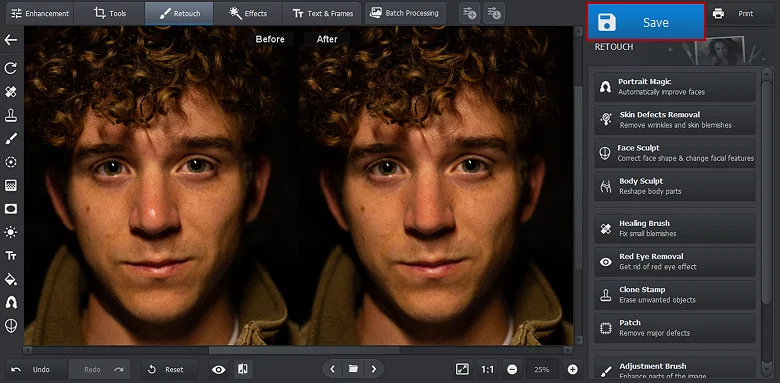 Here is the final result
Want to quickly get glare out of pictures?
Install PhotoWorks and edit images with professional precision
Pictures with glare tend to have hazy and blurry areas. Don’t hesitate to fix blurry parts of your photos using simple sharpening tools to give them a professional look.
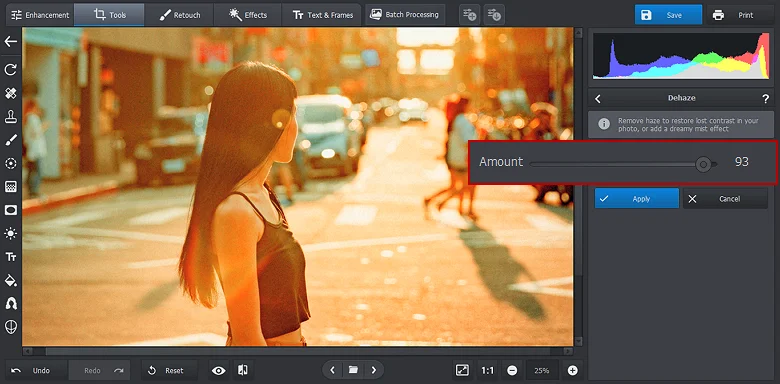
How to Remove Light Glare from Photos with the Dehaze Tool
If the sunlight affected the whole picture rather than a part of it, it’s better to fix the image using the Dehaze tool. After removing glare with this feature, your photo will look more clear yet bright and vivid. But keep in mind that this method works better for images with glare caused by the sun. To eliminate glare in photos with the help of the Dehaze slider, follow the instructions below:
- Select the Dehaze feature. Switch to the Tools tab and click on Dehaze.
- Remove glare. Drag the Amount slider to the right to get rid of the light glare.
- Save the image. When you’re done, click Apply to save the changes and hit Save to export the edited picture.
 Move the slider to remove glare from the entire picture
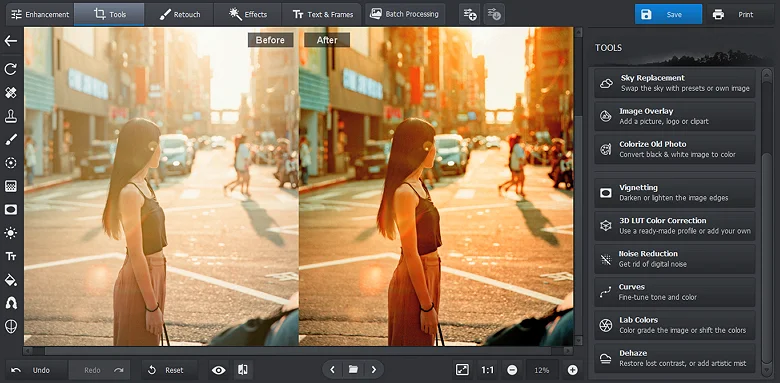 Compare the before and after and save the photo
Want to get rid of face shine in one click? You can effortlessly remove skin glare with an AI tool using PhotoWorks. It features a Portrait Magic module with lots of presets for instant enhancements. They let you quickly remove eye circles, whiten the teeth, correct skin redness, and more!
How to Remove Light Glare from a Photo in Photoshop
Ready to go through a steep learning curve? Then you can remove light glare from photos using Photoshop. This is a program of choice for many pros, as it provides a wide array of top-notch retouching tools. But it is not beginner-friendly and takes time to master. Also, Adobe programs like Lightroom and Photoshop are memory-intensive, so having sufficient RAM is important. If your system meets the requirements, and you don’t mind the cluttered interface, then you can edit glare out of photos with Photoshop. Here’s how:
- Open a file. To import your picture, navigate to the File menu, choose Open, and select the image you’re going to edit.
- Use the Lasso tool. Make a selection of the glare area using the Lasso tool. Create a new adjustment layer and change the amount of brightness and contrast.
- Open Camera Raw. Navigate to the Camera Raw Filter and use the Dehaze tool to adjust the contrast and brightness.
- Dodge and Burn. Create a new layer on top of your image and select the Soft Light blending mode. Now you can remove flash glare from your photo by painting over the needed area with a black brush. Reduce the opacity to make the adjustments look more natural.
- Save the image. When your picture is ready, click File and select Save Asand to choose the destination folder and adjust the export settings.
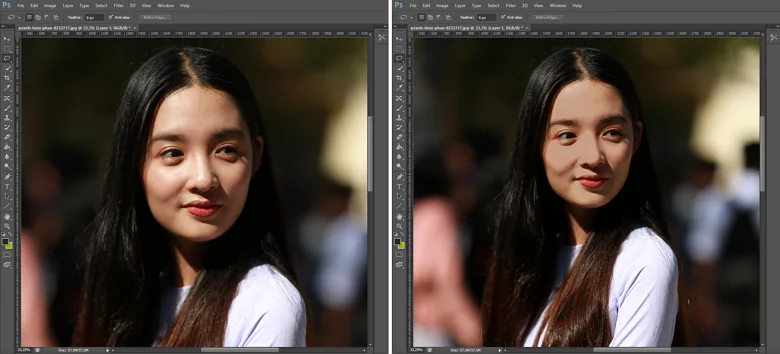 This is how you can edit out glare with Photoshop
How to Remove Sun Glare from Photos on an iPhone
Prefer mobile photo editors to desktop software? Then you can use RetouchMe to correct glare on your smartphone. This is an all-in-one image editor that offers an anti-glare function to get rid of face shine and remove glasses glare from a photo. However, you can’t control the editing process in this app - you pay for credits and use them to order adjustments in an uploaded picture. Want to try it out anyway? This is how to remove glare from glasses in photos on an iPhone:
- Add your photo. After you install RetouchMe, launch the app, and choose the picture you'd like to tweak from your gallery.
- Order the service. Select the Face category and choose the Anti Glare option for 15 credits. Then hit the Proceed button and tap Send to Designer.
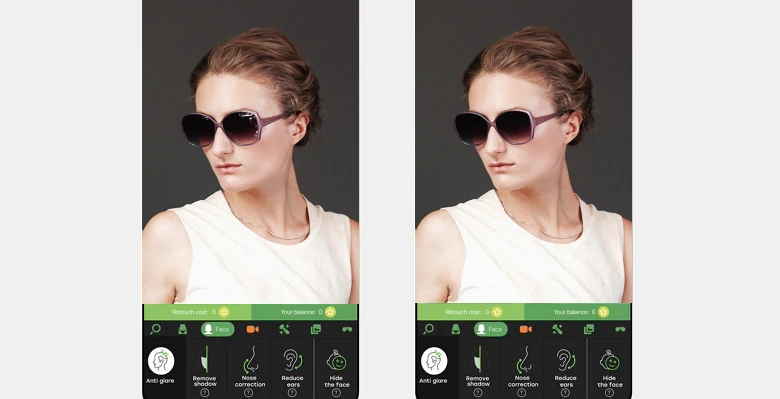 Use RetouchMe to edit images on an iPhone
Wrapping Up
And these are the best ways to eliminate the sun glare and remove reflection from photos! Now you know how to enhance your pictures in RetouchMe, a mobile app with an Anti Glare service, PhotoWorks, an intuitive photo editor for Windows and Mac, and Photoshop, the gold standard for photo editing. Each method offers unique advantages for glare removal. Don't be afraid to experiment, because different images may require different approaches - give them all a try to ensure your photos pop.